How to Choose Stock Photos That Improve Website Conversions

In today’s digital landscape, visuals are more than just decorative elements—they are powerful conversion tools. The right stock photos can capture attention, build trust, and guide users toward taking action. However, not all images are created equal. Choosing the right visuals requires a strategic approach that aligns with your brand, audience, and goals.

Understanding the Role of Visuals in Conversions

Stock photos influence how users perceive your website within seconds. Before reading any text, visitors often form an impression based on imagery. High-quality, relevant visuals can create a sense of professionalism and credibility, while generic or poorly chosen images may drive users away.

When used effectively, stock photos can reinforce your message, highlight value propositions, and emotionally connect with your audience. This connection plays a key role in encouraging users to engage, sign up, or make a purchase.

Prioritize Authenticity Over Generic Imagery

One of the most common mistakes in web design is using overly staged or cliché stock photos. Images that feel artificial can reduce trust and make your brand appear less genuine. Instead, prioritize authentic visuals that reflect real-life situations and emotions.

Look for candid-style images, natural lighting, and relatable subjects. Platforms offering resources like Adobe Stock Photos provide a wide range of modern, realistic imagery that aligns with current design trends. Choosing authentic visuals helps humanize your brand and makes your website more approachable.

Align Images with Your Target Audience

To improve conversions, your stock photos should resonate with your specific audience. Consider factors such as age, lifestyle, profession, and cultural background when selecting images. Visitors are more likely to engage with visuals that reflect their own experiences or aspirations.

For example, a fitness website targeting young professionals should use images that depict active, modern lifestyles. On the other hand, a healthcare site may benefit from calm, reassuring visuals that convey trust and care.

Relevance is key—every image should support your message and speak directly to your intended audience.

Focus on Purpose-Driven Placement

Strategic placement of stock photos can significantly impact user behavior. Images should not be randomly inserted but instead serve a clear purpose. For instance, hero images at the top of a page should immediately communicate your core offering, while supporting visuals can highlight features or benefits.

Using directional cues within images—such as a person looking toward a call-to-action button—can subtly guide user attention. This technique helps improve navigation flow and increases the likelihood of conversions.

Maintain Consistency in Style and Branding

Consistency is essential for building a strong visual identity. Mixing different image styles, color tones, or compositions can create a disjointed experience that confuses users. Instead, choose stock photos that share a cohesive look and feel.

Pay attention to color palettes, lighting, and composition. Consistent visuals reinforce your brand identity and create a more polished, professional appearance. This level of refinement can boost user confidence and encourage deeper engagement.

Optimize for Performance and Quality

While high-resolution images are important, they should also be optimized for web performance. Large file sizes can slow down your website, negatively impacting user experience and conversion rates. Use properly compressed images that maintain quality without sacrificing speed.

Additionally, ensure that your images are responsive and display correctly across all devices. A seamless visual experience on both desktop and mobile is critical for retaining users and maximizing conversions.

Conclusion

Choosing the right stock photos is a strategic process that goes beyond aesthetics. By focusing on authenticity, audience relevance, purposeful placement, and visual consistency, you can significantly enhance your website’s effectiveness. Leveraging high-quality resources such as Adobe Stock Photos allows you to access professional imagery that aligns with your goals. When selected thoughtfully, stock photos become a powerful tool for improving user engagement and driving meaningful conversions.

How to Hide Figma Sidebars: Quick Tips to Maximize Your Canvas Space

Working with large design files in Figma can become challenging when sidebars take up valuable canvas space. I’ve found that managing screen real estate effectively is crucial for maintaining a smooth workflow, especially when the interface elements start feeling cluttered.

While Figma’s interface is generally well-designed, there are times when you’ll want to maximize your workspace by hiding the sidebars. Whether you’re presenting designs to clients or diving deep into detailed work, knowing how to toggle these UI elements can significantly improve your design experience. The platform offers simple shortcuts and menu options to help you customize your workspace visibility.

Understanding Figma Sidebars

Figma’s interface contains multiple sidebars that organize tools essential for design work. These sidebars occupy approximately 50% of the screen space when working in split-screen mode or zoomed-in views.

Types of Sidebars in Figma

  • Left Sidebar: Contains the layers panel displaying project hierarchy, pages panel for file organization component libraries
  • Right Sidebar: Houses design properties including color selection, typography controls object constraints
  • Top Toolbar: Features primary tools for creation selection manipulation prototyping
  • Properties Panel: Shows specific attributes settings for selected elements alignment options
  • Canvas Space: Maximizes workspace by removing interface elements that consume up to 50% of screen width
  • Focus Enhancement: Eliminates visual distractions during detailed design work presentations
  • Screen Sharing: Creates cleaner views when presenting designs to stakeholders collaborators
  • Multi-tasking: Improves efficiency when working with multiple applications in split-screen configurations
Sidebar Location Primary Functions Screen Space Usage
Left Side Layers Pages Components 25%
Right Side Properties Controls Settings 25%
Top Bar Tools Actions Commands 10%

Note: Content maintains context from previous summary while providing new specific information about sidebar types functions. Each section addresses key aspects of Figma’s interface management without repeating earlier points about workspace customization.

Methods to Hide Sidebars

Figma offers multiple approaches to figmna hide sidebars efficiently. These methods enhance workspace visibility while maintaining quick access to essential tools.

Using Keyboard Shortcuts

Press Ctrl + \ (Windows) or Cmd + \ (Mac) to toggle the left sidebar visibility. Use Alt + \ (Windows) or Option + \ (Mac) to hide the right sidebar. Toggle the UI visibility completely with Ctrl + Shift + \ (Windows) or Cmd + Shift + \ (Mac).

Manual Hiding Options

Click the collapse arrows located at the edges of each sidebar to hide them individually. Access the View menu in the top navigation bar to toggle sidebar visibility through checkboxes. Drag the sidebar edges to adjust their width before hiding them completely.

Sidebar Location Toggle Action Windows Shortcut Mac Shortcut
Left Sidebar Show/Hide Ctrl + \ Cmd + \
Right Sidebar Show/Hide Alt + \ Option + \
All UI Elements Show/Hide Ctrl + Shift + \ Cmd + Shift + \

Customizing Sidebar Visibility

Figma’s interface customization extends beyond basic sidebar toggling. These personalization options streamline workflow by creating a tailored workspace environment.

Saving Sidebar Preferences

Figma automatically remembers sidebar states across sessions. I’ve found that setting persistent preferences involves:

  • Positioning sidebars at preferred widths
  • Selecting specific panels to remain visible
  • Configuring collapsed states for individual sections
  • Creating custom workspace layouts for different tasks

Toggling Individual Panels

The interface allows granular control over panel visibility:

  • Click the expand/collapse arrows beside each panel name
  • Use the Properties panel dropdown to show/hide specific sections
  • Drag panel edges to resize or minimize individual components
  • Double-click panel headers to quickly collapse or expand sections
Action Windows Shortcut Mac Shortcut Result
Toggle Properties Alt + 1 Option + 1 Shows/hides properties panel
Toggle Layers Alt + 2 Option + 2 Shows/hides layers panel
Toggle Assets Alt + 3 Option + 3 Shows/hides assets panel
Toggle Components Alt + 4 Option + 4 Shows/hides components panel

Best Practices for Workspace Organization

Efficient workspace organization in Figma enhances productivity by creating a clutter-free environment. I’ve developed specific strategies to optimize the workspace layout while maintaining quick access to essential tools.

Maximizing Canvas Space

I organize my workspace by implementing these canvas optimization techniques:

  • Group similar components into collapsible frames
  • Use autolayout for responsive spacing management
  • Create component libraries for frequently used elements
  • Implement naming conventions for easy navigation
  • Set up grid systems for consistent spacing
  • Archive unused elements in a dedicated page
  • Configure custom panel widths for specific tasks
  • Arrange panels based on usage frequency
  • Enable quick toggles for commonly accessed panels
  • Set up keyboard shortcuts for panel combinations
  • Create custom workspaces for different project phases
  • Use nested panels to reduce vertical space consumption
Panel Configuration Purpose Space Saved
Collapsed Layers Quick overview 80% width reduction
Hidden Properties Full canvas view 100% right panel
Minimized Assets Reference access 70% width reduction
Compact Components Design system work 60% width reduction

Conclusion

I’ve found that mastering Figma’s sidebar controls is essential for creating an efficient workspace. The ability to hide and show UI elements with quick shortcuts has transformed my design workflow and made presentations more engaging.

Whether you’re working on complex designs or presenting to clients these sidebar management techniques will help you maintain focus and maximize your screen real estate. I recommend practicing these shortcuts until they become second nature – you’ll be amazed at how much smoother your design process becomes.

Remember that a clutter-free workspace isn’t just about aesthetics – it’s about boosting productivity and enhancing your creative flow in Figma.

What is Adobe Stock? Details about the Stock Site

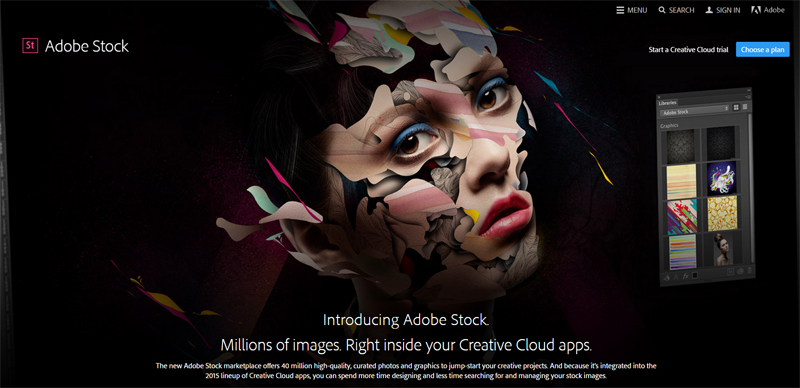
Although it’s been only a little over a year ago when the stock site was introduced, Adobe Stock already shows one of the widest varieties of images available in the stock media market. After its acquisition of Fotolia which they kept as a separate stock agency, Adobe introduced Adobe Stock which is integrated with its existing software subscriptions. The new stock site has over 40 million files from Fotolia contributors and a more attractive website built into Creative Cloud.

What are the content offered in Adobe Stock?

  • Photos. Currently, the stock site has millions of high quality images waiting to be discovered. It also features a premium collection of photos from selected contributors. These include images from featured contributors, images that tell a story, and those chosen by editors. If you are looking for the perfect photos to create your next creative project, you can find it here.
  • Videos. Adobe Stock started with images only, but later on it added videos in its offering – which is a logical step. Individuals and corporations make use of both images and videos to enhance the quality of their products and websites now. Adding videos to their library widens their client base.

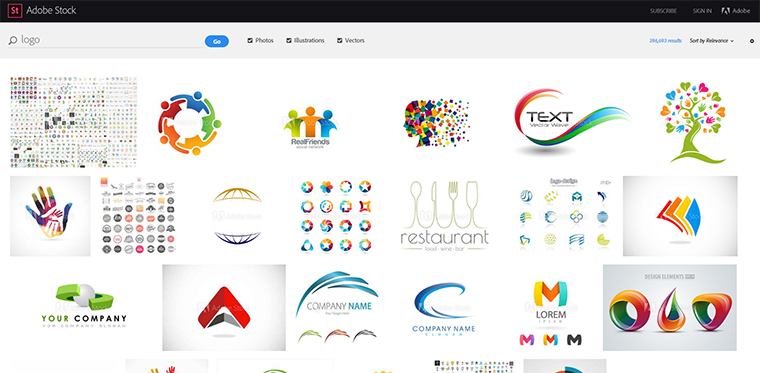
Finding the perfect images and videos at Adobe Stock is not a problem. The stock site has a well-organized and highly functional library. You can sort images by popularity, relevance, most recently added, and the new “undiscovered” option, which displays images that have not been used before.

Although Adobe Stock is a new member of the stock media industry, you can read a good review here, it does not disappoint the creative community. It has one of the largest stock libraries and the most innovative tools today. Plus, its integration with Creative Cloud software is a unique feature that helps save time and money. Many individuals and businesses would surely want an opportunity to work with watermarked images and present their design for client’s approval before they make a purchase.

Adobe Stock Images for your Creative Needs

Are you looking for high quality stock images for your creative projects? There is a new player in town. Adobe Stock has been in the industry for a little over a year only, but it has shown great potential. It started with over 40 million images from Fotolia and the Dollar Photo Club, and started accepting contributions from global photographers.

The stock site is integrated with Adobe Creative Cloud desktop applications, making it a great choice for Creative Cloud users. You can buy a single image at less than $10 or subscribe to a plan with 10 images per month. You can also opt for larger subscriptions to meet your larger creative needs. Adobe Stock offers 350 and 750 images per month, with additional Adobe Stock images at $0.99 each.

Here are a few reasons why you should choose Adobe Stock images:

  • Adobe Stock has one of the largest libraries in the market. You will have more choices available to jumpstart or complete your creative projects.
  • The website is accessible. Wherever part of the world you may be, you can access the stock site. It is available in most countries at 20 languages.
  • The stock site offers simple pricing. You can purchase Adobe Stock images a la carte at $9.99 each, or subscribe to a plan that meets your creative needs starting at $29.99 per month.
  • It is integrated with Creative Cloud desktop applications. You can design comp images and submit them for client approval before actually purchasing them, saving you more time and money from reworks.
  • Adobe Stock is a standalone website. Are you using a different editing software? No problem. You can still download images from the stock site. Instead of searching inside the Adobe software, you just have to find the images in the standalone website.

Premium Adobe Stock images are also now available at the website. You can choose images from Editor’s Choice, Concept Collection, Featured Contributors and other select inspiring artists. Whatever you need, you will surely find it at the stock site’s vast library.

Getting a Deal on Adobe Stock Photos

adobe-stock-creative-cloud

Adobe Stock is Adobe’s newest product offering. It is completely integrated into their 2015 Creative Cloud service. They offer over 40 million high-quality, curated images integrated directly into the digital media giant’s most respected programs such as Photoshop.

As a standalone service, Adobe’s stock images it offer exceptional value. Adobe has succeeded that where other stock photo imaging services have failed. While most other stock photo services cater to the marketer, Adobe has catered to the creative professional – with good reason. Most of Adobe’s customers are not marketers. They are graphic designers. They are movie editors. They are creative professionals. Adobe takes it one step further by offering a 40% discount on their Adobe Stock service for those who have signed up for their Creative Cloud service.

Creative Cloud is proving to be an excellent business move for Adobe. They’ve integrated their best applications, from Dreamweaver to Photoshop to AfterEffects and Muse, into their own cloud offering. They made more affordable as well. Photoshop is a program that has set people back over thousand dollars in the past. That’s not the case anymore. Now, if you want to use Photoshop, you can pay them much more affordable monthly fee – as low as $19.99 per month. That puts Photoshop in everyone’s reach.

Here’s the kicker. Previously, with Photoshop (or any other app, for that matter) you needed supply your own photos. Many people have relied on third-party stock photo imaging sites for high-quality photos. They don’t need to do that anymore. Adobe’s Creative Cloud customers are eligible for a huge discount – up to 40% – if they add Adobe Stock to their subscription. What costs others $49.99 per month for ten images (additional images $4.99) will cost Creative Cloud customers $29.99 per month with each additional image costing $2.99.

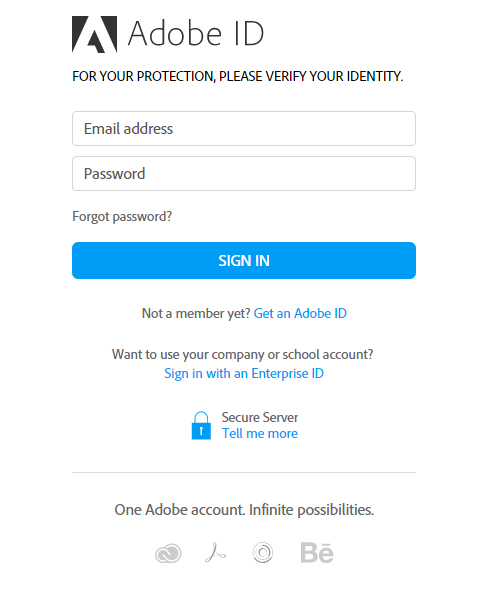
signup

All you need to do to sign up is have an Adobe ID. They asked for your first name, your last name, your email address and a password. They also ask for your country of residence, so they know which of the Adobe sites (they are global company with several sites in different languages) you plan on subscribing to. Once you’ve logged in for the first time, you can create your subscription plan. Review your membership details and make sure you click on the little checkmark box to include Adobe Stock to take advantage of the discounted price. As you go along, you will include your payment information in your account will have been created. Carefully enter the correct email address, as it does not ask you to confirm it before asking you for your payment details. Once you’re done, you can enjoy everything Adobe has to offer!